MS Outlook - Email Forward From OWA
Process
- Sign in to Outlook Web App. For help, see Sign in to Outlook Web App.
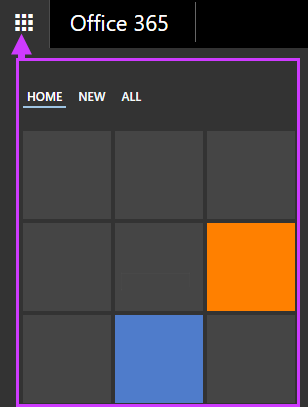
- At the top of the page, select Outlook (or Mail). Or, select the App launcher
 , and then select Outlook.

- At the top of the page, select Settings > Options, and then select one of the following:
- Account > Connected accounts
OR
- Mail > Accounts > Connected accounts
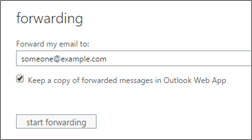
4. Do one of the following, depending on the options you see: - Under Forwarding, enter the email address you want to forward your Outlook Web App email to, set or clear the Keep a copy of forwarded messages in Outlook Web App check box, and then select Start forwarding.

OR
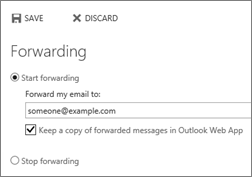
- Select Start forwarding, enter the email address you want, set or clear the Keep a copy of forwarded messages in Outlook Web App check box, and then select Save.

Stop email forwarding
In Outlook Web App, select Settings > Options > Account > Connected accounts (or Mail > Accounts> Forwarding).
Select Stop forwarding.
Change email forwarding settings
After you’ve set up email forwarding, you may want to change the address your email should be forwarded to. You may also want to change the setting for keeping a copy of your email in your mailbox.
- Sign in to Office 365 with your work or school account.
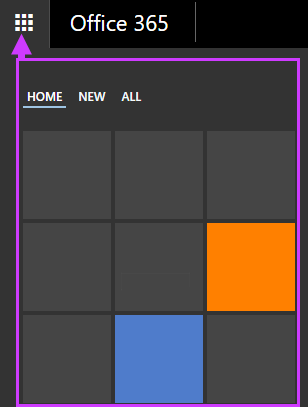
- At the top of the page, select Outlook (or Mail). Or, select the App launcher
 , and then select Outlook.

- At the top of the page, select Settings > Options, and then select one of the following:
- Account > Connected accounts
OR
- Mail > Accounts > Connected accounts
- Do one or both of the following:
- To change the email address your mail should be forwarded to, in the Forward my email to box, edit the email address.
- To change the setting for keeping a copy of messages in your mailbox, select or clear the Keep a copy of forwarded messages in Outlook Web App check box.
5. Select Save.
Source: https://support.office.com/en-us/art...rs=en-US&ad=US
