GOAL:
Provide instruction on how to install the Agent Console in Clarity Connect
Steps to Resolution:
- Open Internet Explorer and browse to the URL for your Clarity Connect instance (i.e. customer.ctcontactcenter.com)
- You will receive a pop-up window requesting your credentials. Enter the same credentials you would use to sign into Skype for Business or the User Portal.
- Once logged in, you will see your name at the top right corner. Next to your name is a small yellow asterisk. Click the asterisk to bring up the download page for the Agent Console.

- From this page you will need to select the “Agent Console Installer” button to download the Agent Console.

- You may receive a pop-up notification asking you if you would like to run or save the file. It may also tell you this type of file may be harmful. Select the option to “Run”.

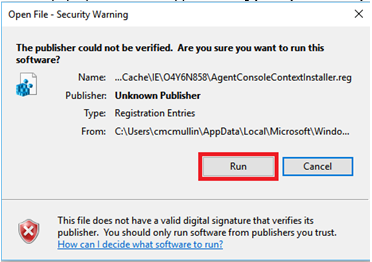
- Another pop-up window will appear asking you if you’re sure you would like to run the software. Select the option to “Run”.

- Another pop-up will appear asking if you would like to continue. Select “Yes”

- At this point you will receive a notification letting you know that the install was successful. Click “OK” and you may proceed to open your Skype for Business client. (Note: if your Skype for Business client was running during this install process, you will need to exit and restart the Skype for Business client)

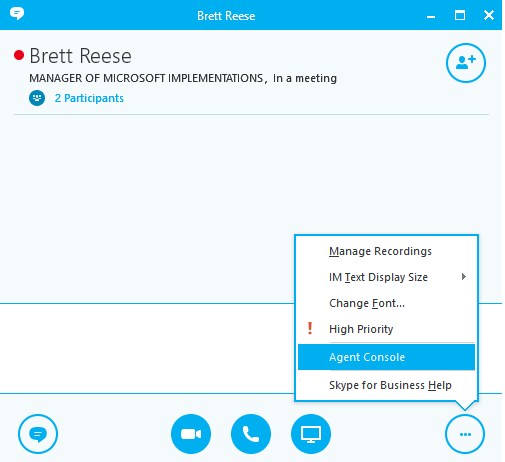
- To test and verify that the Agent Console was installed properly. Open a conversation window and in the bottom right corner, click the button with 3 dots. From the pop-up menu you will see the option for Agent Console.

|